Make room for another perspective.
Choose your corner, understand the three surfaces and plan where the artwork will go.
Find a clear corner.
Start with the shape and surface of your room. These checks help you choose a location while the final kit specifications are being prepared.
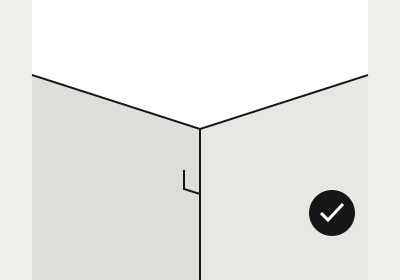
Candidate corner
Smooth, right-angle corner
Look for two smooth walls and a smooth ceiling meeting at 90°. Paint and adhesive compatibility still need confirmation against the final kit.
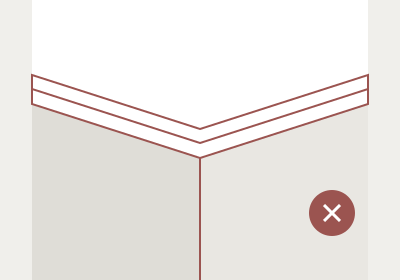
Avoid this location
Crown molding or trim
Trim interrupts the meeting point between the walls and ceiling, where the three panels need to align.
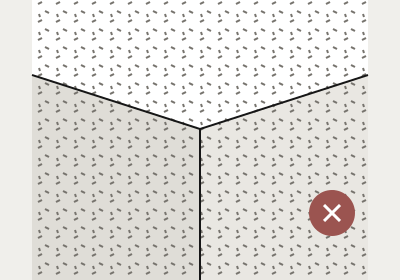
Avoid this location
Heavy texture
Rough walls and popcorn ceilings interrupt the flat placement of the printed panels.
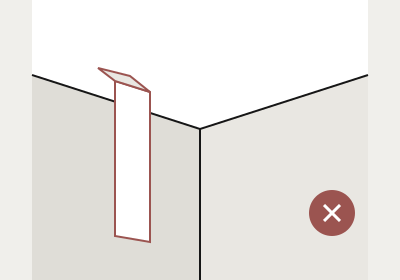
Avoid this location
Pipes, beams or raised edges
Choose an uninterrupted area on all three surfaces. An obstruction within the artwork area interrupts the flat surfaces the panels need.
Measure the space around the corner.
Record the clear span on both walls and the ceiling, starting at their shared corner. Include any nearby trim, fixtures or other obstruction.
We are planning formats around 19 inches (48 cm) and 10 inches (25 cm). The panel outlines and the edges those measurements describe are still being finalized.
Use the final panel-by-panel dimensions to confirm fit before ordering. The planning formats are not cutting measurements or installation templates.
Download the measurement diagram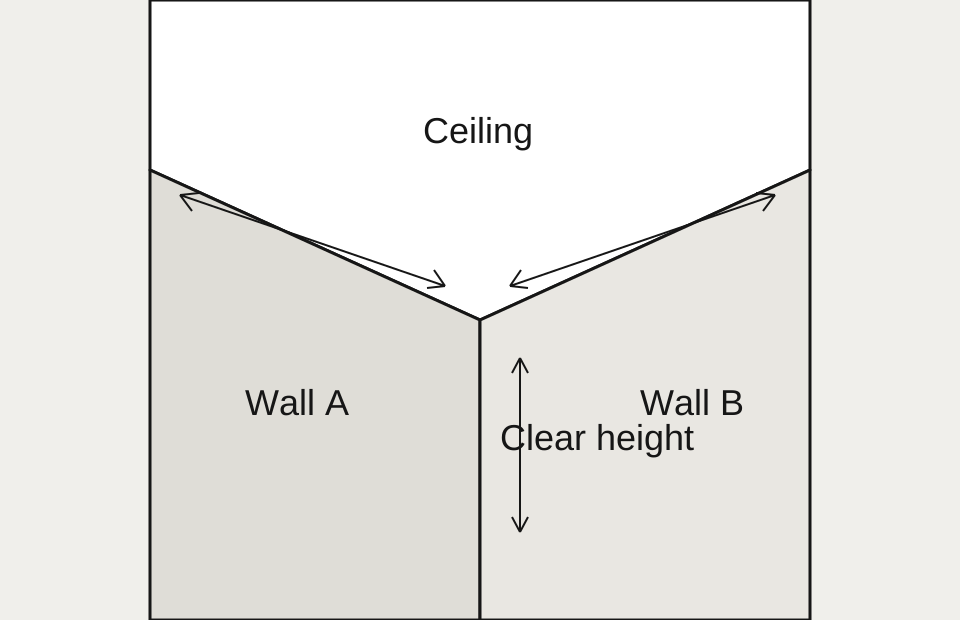
Three panels meet at one corner.
The planned kit pairs a printed piece for each wall with one for the ceiling. Separate alignment tabs help locate the meeting edges; they are installation aids, separate from the artwork.
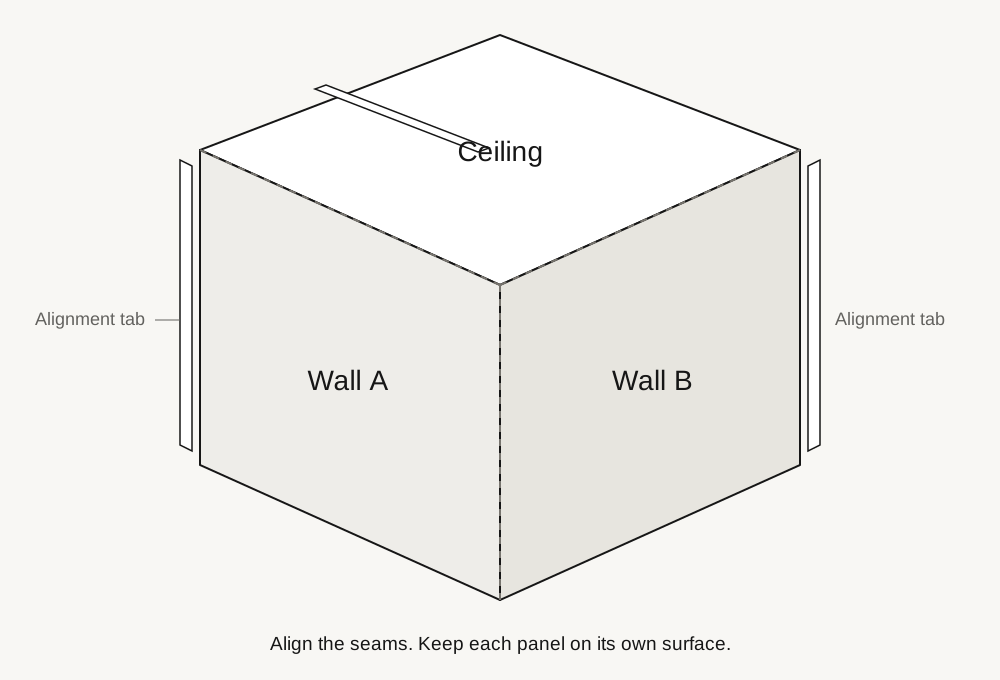
- Check your corner. Plan for two smooth walls and a ceiling meeting at right angles, with no trim across the artwork.
- Align three panels. Match Wall A, Wall B and Ceiling at the marked seams. Use the alignment tabs to position the pieces.
- Step back and explore. Move sideways and compare the view. The panels stay flat and fixed in place.
Installation illustration. Final adhesive, surface preparation and print-specific instructions will accompany the production kit.
Download the installation diagramKeep the meeting edges clear.
Match the surface labels and seam markers in the final kit. Each panel stays on its own surface; the printed panels do not overlap one another.
Use the instructions supplied with the kit.
The final kit instructions will cover surface preparation, application order, tools and care after the adhesive and panel specifications are confirmed.
Not sure about your space?
Contact us about the shape and surface of your corner before planning an installation. We will publish the final dimensions and material information before orders open.